7 Uses for Vinyl Cutters

Vinyl cutters make precise cuts that offer a cleaner, crisper look on various vinyl projects. They do far better than scissors, making exact cuts as directed by a digital design file. They’re handy for a range of purposes, whether you’re creating a custom gift for your friend’s birthday or DIY posters for your classroom. Whether you’re a crafting enthusiast, a small business owner, or an educator, vinyl cutters offer endless possibilities for creativity and practical applications. 

What Are Vinyl Cutters?

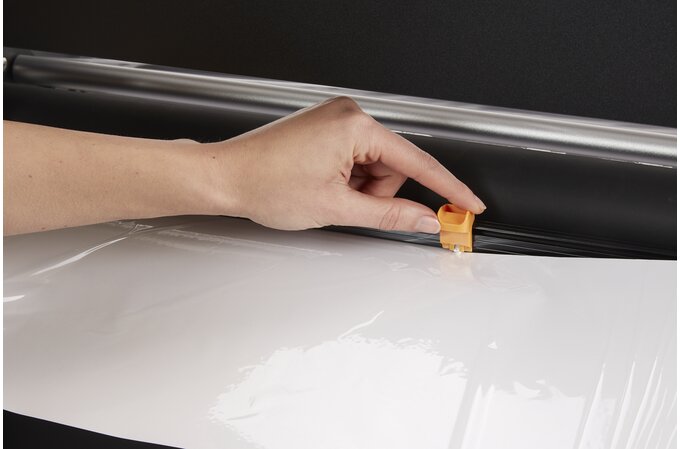
Vinyl cutters are machines that cut vinyl sheets into precise shapes, patterns, and designs. They use a sharp blade to trace and slice along predetermined paths, following the precise measurements of digital design files. The result is a crisp, clean cut that can be used for various applications, from crafting and home decor to business signage and educational tools. 

What Are Vinyl Cutters Used For?

Vinyl cutters are incredibly versatile machines with many uses for varying purposes and in numerous industries. Some of the most common uses for vinyl cutters include:

  1. 1. Custom Apparel and Accessories

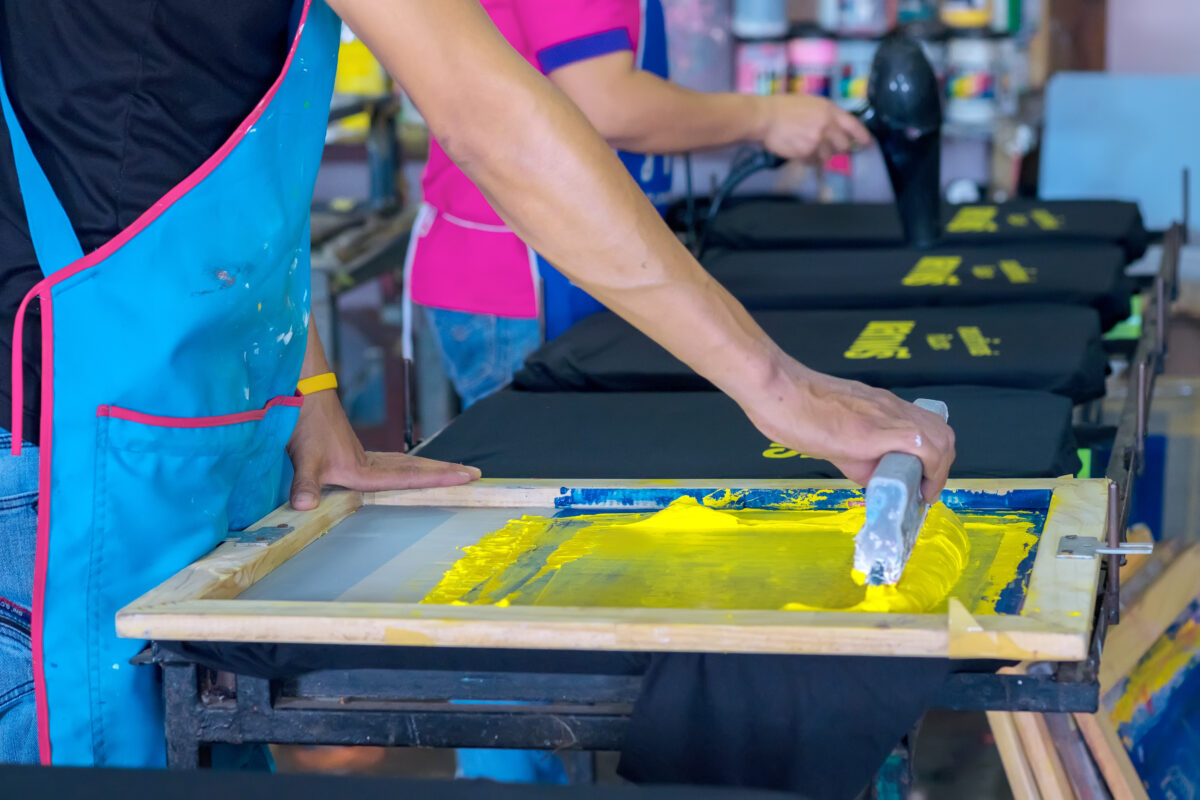
The creation of custom apparel is one of the most popular uses of vinyl cutters. You can use adhesive or heat-transfer vinyl as a base for your designs, using the cutter to slice intricate patterns, logos, or text to the base. 

Then, depending on what type of vinyl you use, you’ll use an iron or peel off the backing to attach the vinyl to the desired object. This option is particularly popular for creating customized:

  • T-shirts
  • Tote bags
  • Aprons
  • Event merchandise
  • Branded apparel
  1. 2. Home Decor

A vinyl cutter can also help you craft beautiful decor items to complete your home. The sky is your limit. You can create everything from wall decals featuring custom artwork, inspirational quotes, or patterns to seasonal decorations. 

It can even help you create crafts with your kids—you can let them pick adorable designs and ornament prints for various holidays or to celebrate different seasons. For example, you could create spooky silhouettes for Halloween windows or festive holiday ornaments to hang on the tree. 

  1. 3. Personalized Gifts and Crafts

Aside from custom apparel, such as aprons, t-shirts, and tote bags, you can use your vinyl cutter to create various personalized gifts and crafts. Whether you’re crafting for a birthday, wedding, or special holiday (think Mother’s and Father’s Day), there are all sorts of things you can create:

  • Custom mugs and tumblers featuring funny sayings or photos
  • Photo frames enhanced with decorative elements, names, or dates
  • Greeting cards featuring your own personal flair
  1. 4. Educational Tools

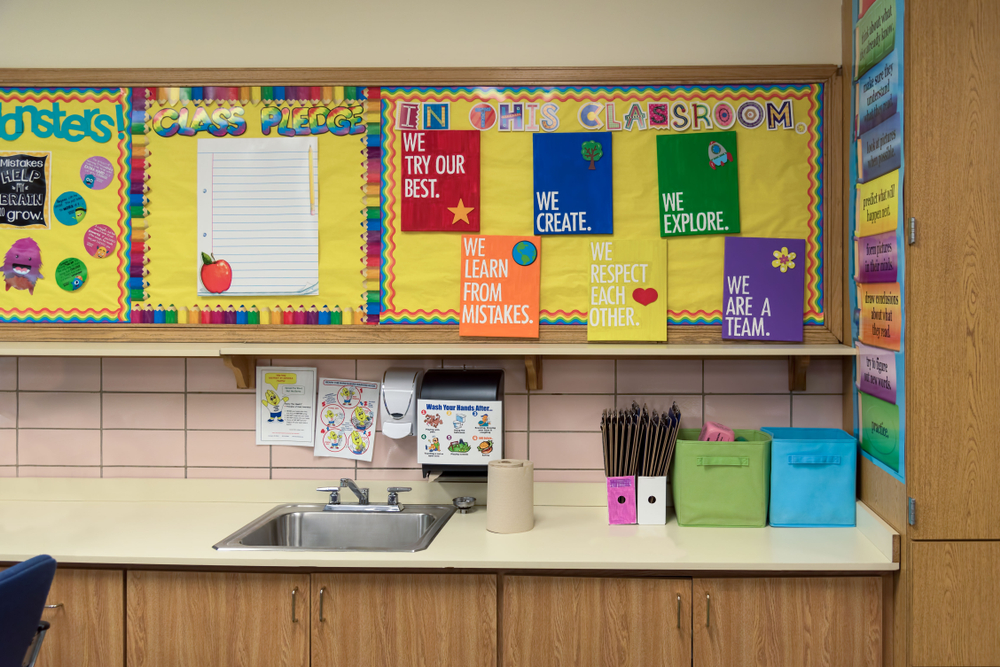
In the classroom, vinyl cutters serve a variety of purposes. Whether you’re creating crafts to send home with your students, labels for organizational purposes, or interactive learning aids, vinyl cutters can help. Here are a few ways to use your vinyl cutter in the classroom:

  • Interactive learning aids: Create customized visual aids for the latest lesson you’re teaching, whether you need a scientific diagram, geometric shapes for math, or maps for geography. 
  • Organization: Design and cut customized labels to streamline organization in your classroom, whether it be labeling your students’ cubbies or marking where each type of toy is supposed to live. 
  • Student projects: Vinyl cutters can be a helpful tool regardless of what grade you teach. Create custom bookmarks, stickers, project displays, event decorations, and gifts for your students to take home. Depending on their age, they might even be able to help you!
  1. 5. Business Branding and Marketing

If you run a small business, a vinyl cutter can help you create branded materials in-house. This eliminates the need for expensive outsourcing to create custom signage, graphics, and promotional items. 

Create custom keychains, pens, car decals, and eye-catching signs to prop on your window sills. There are plenty of options—your imagination is the limit!

  1. 6. Crafting and Scrapbooking

Vinyl cutters are a familiar favorite among crafters and scrapbookers. They can help you cut detailed shapes and letters, dramatically improving the finished product and creating a crisp, neat result. 

Use your vinyl cutter to create intricate cards for any occasion, such as a friend’s birthday or your sister’s wedding. Create custom embellishments to enhance the stories you tell on your scrapbook pages, bringing them to life with little stickers, titles, and frames. 

You can even use your vinyl cutter for various home crafts, such as DIY ornaments or custom pillowcases. For example, perhaps you have a design idea for a seasonal pillowcase but can’t find what you’re looking for in a ready-made pillow. In this case, you could design and print the design on heat-transfer vinyl, use your vinyl cutter to precisely cut the design, and iron it onto your pillowcase of choice. 

  1. 7. DIY Projects and Repairs

Beyond crafts and decoration, vinyl cutters serve a practical purpose in various DIY projects and select repairs. For example, you could use your vinyl cutter to create a unique stencil for painted wallpaper. Or, you might cut custom labels for your toolboxes, kitchen jars, and storage containers. 

If you get the right type of vinyl, you could even use the cutter to slice vinyl patches to repair items like inflatable toys. 

Unleash Your Creativity With a Vinyl Cutter From AGC Education

Whether you’re a crafter or a teacher, a vinyl cutter can be a great addition to your arsenal of tools. Their ability to produce clean and precise cuts makes them indispensable for crafting, decorating, teaching, and branding. With remarkable versatility and wide-ranging applications, vinyl cutters are the perfect addition to your crafting toolkit. 

If you’re ready to elevate your craft and organization game with a vinyl cutter, talk to our team at AGC Education. We offer a Cut-Out Studio designed for streamlined creation, plus an assortment of cutter supplies to help you get started. Contact us today to learn more. 

The Best Sublimation Printer for T-Shirts

Are you looking to make custom shirts with your personal designs and colors? To get professional-looking results, you’ll likely need the best sublimation printer for t-shirts. 

Below, we’ll examine some key factors when considering sublimation printers. Depending on your specific project and whether you want to make other custom items like mugs, bags, hats, or something else, you’ll also need different items and accessories. 

In other words, we’ll help you find the sublimation printer you are looking for and show you how to start your printing setup. 

How Does a Sublimation Printer Work? 

A sublimation printing machine uses a special type of ink that prints onto sublimation paper. Then, the ink is transferred from the paper to the item (in this case, fabric for t-shirts) with a heat press

Here are the steps of how it works: 

  1. Print your design onto the special sublimation paper. 
  2. The paper is placed onto the item (in this case, t-shirt) and heated with a heat press.
  3. The item absorbs the ink from the paper.
  4. The design is successfully transferred from the paper to the item. 

This process works well and creates some colorful, striking designs that don’t fade over time. 

Finding the Best Sublimation Printer for T-Shirts

When looking for the best sublimation printer for T-shirts, consider several things. Size, versatility, cost, design, ink type, maintenance, kits, warranty, and ease of use all come into play. Let’s break down what to consider with these critical points: 

  • Size: What size of designs will you be printing? You’ll need a printer that supports printing that size on t-shirt material. 
  • Cost: The price of sublimation printers can vary greatly, so to determine value, determine what you will be using the machine for, how long you intend to use it, and your overall budget. 
  • Ease of Use: Is the printer easy to set up and use? Can you learn quickly and do it yourself? Does it require any other technology? 
  • Versatility: Are you printing only t-shirts, or will you use it for posters, mugs, hats, or something else in the future? 
  • Kits & Bundles: Often, you can find a printer with start-up supplies or other materials needed for a convenient and quick start. 
  • Warranty: Is there a warranty? How long does it last? How are complications, repairs, and maintenance handled if you find yourself in those situations? 
  • Support & Training: Are there classes or tutorials to teach you how to start with the sublimation printer, make different designs/items, learn various skills, and get the most out of your machine? 

What is the Best Sublimation Printer for T-shirts? 

The Sublimation Station is an excellent printing machine for T-shirts. This all-in-one sublimation printer lets you quickly create custom designs for t-shirts, mugs, posters, bags, and other items. 

This sublimation printing machine provides a smooth finish for custom t-shirts and has enough versatility to become your go-to tool for all your custom printing needs. 

**PRODUCT IMAGE HERE**

It’s great for adding a personalized touch to your school stores, fundraisers, or other projects. The possibilities are endless! 

Here are some features that set the Sublimation Station apart: 

  • Full design software for unlimited creativity.
  • Approachable, user-friendly interface.
  • Bulk ink system for continuous, uninterrupted printing. 
  • Starter sublimation product kit with mugs, masks, and puzzles for practice.
  • Full support and training to get you started with confidence. 

Sublimation Printer Supplies for T-Shirts

To make sure you have everything you need to get started creating t-shirts with a sublimation printer, here’s a handy checklist of essential supplies: 

  • Ink: Make sure the printer has plenty of ink, and estimate how much you will need for the project. 
  • Sublimation Paper: You’ll need the right type (and amount) of sublimation paper that works with your machine. 
  • Blank T-Shirts: Choose the right type, size, and color of t-shirts for a smooth application. The AGC store carries a variety of shirts that work well with sublimation printing machines – available in youth and adult sizes.
  • Other supplies: Consider if other items would also be fun to design. This could be bags, mugs, cups, keychains, trophies, plaques, or other accessories. The possibilities are seemingly endless! 

What T-Shirts Should You Use With A Sublimation Printer? 

The ink used in the Sublimation Station transfers best onto 100% Polyester or a 50/50 fabric blend. Our sublimation supplies category has several examples of t-shirts that work well with a sublimation printer. The shirts come in different base colors and sizes (adult and youth). 

Is it Difficult to Use The Sublimation Printer?

The Sublimation Station has an easy-to-use interface, with a starter kit and implementation training. You’ll want to follow the training (which comes with the machine at no extra cost) and test out a few samples to get the hang of it, but it’s pretty intuitive after that! 

Also, AGC offers lifetime technical support. Over 90% of issues can be solved over the phone at no extra cost, but AGC provides on-site options if necessary.  

Everything You Need to Know About Making Sublimation Mugs

Have you ever wondered how to get cool, full-color designs on a mug? Using a sublimation machine is a popular way to get the best results with a long-lasting design that doesn’t chip or fade. 

So, what exactly are sublimation mugs, and what’s the secret to creating them? In the following sections, we’ll unveil these mysteries and share all the tips and tricks you need to achieve that perfect, professional finish. 

What Are Sublimation Mugs? 

Sublimation mugs are like ordinary ceramic or polymer mugs, but they have a special coating that makes it easy to transfer designs on them. 

To make that happen, you’ll need a sublimation printer that transfers special ink to sublimation paper. The paper is then placed on the sublimation mug, and a heat press transfers the design from the paper to the mug. 

Why Sublimation Printing For Mugs? 

A sublimation printing machine is a great way to put custom, full-color designs on mugs. Most people prefer this method because it provides a complete finish that is resistant to scratching and fading, as opposed to a sticker or another print solution. 

Here are some other top reasons for using a sublimation printer for mugs: 

  • Image Quality: The image quality seems better when using a sublimation machine, as the colors are more vibrant and the lines are sharper, making the design really “pop”! 
  • Precision: For complex images or those with a lot of color, sublimation printing captures those with high-resolution printing and sharp/clear detail. 
  • Efficiency: If you are making numerous mugs or other items, the sublimation printer can efficiently produce designs one after the other. 
  • Versatility: These Sublimation Stations are extremely versatile. You can create complex designs in any combination of colors. You can also use sublimation printers to create custom t-shirts, bags, keychains, posters, trophies, and more! 

How To Make Sublimation Mugs: 5 Steps 

The process of making sublimation mugs is straightforward once you have all your supplies ready to go. Here’s a brief overview of what it looks like: 

1. Gather All Sublimation Materials

This includes ordering everything and getting your sublimation printer setup. You will need the following materials and equipment to get started: 

  • Sublimation printer
  • Heat press
  • Sublimation mugs
  • Sublimation ink
  • Sublimation paper
  • Heat-resistant tape 

The sublimation printer and heat press are necessary equipment for making sublimation mugs. Also, getting the actual sublimation mugs is best instead of using just any mug. As mentioned earlier, the sublimation mugs have a special coating on the side to make the design stick better. 

To get started, you will also need sublimation ink and paper. The thermal sublimation tape isn’t a 100% requirement, but we highly recommend it, as it keeps your design in place when using the heat press. 

2. Prepare Your Custom Design 

You’ll want to find the perfect image, resolution, and orientation to be placed on the sublimation mug. Once you have it, follow these steps for best results: 

  • Double-check your image. Will the sizing look good on the mug? Is it a high-quality image? 
  • Flip the image if necessary. The image will be flipped during the transfer process, so consider that before printing. 
  • Print settings. Make sure your settings call for the “best quality” and any other customized details needed for your specific project. 

3. Print the Design 

Everything should be in place so you can print the design onto the special sublimation paper. Double-check that the print is of the highest quality and has no defects. Also, don’t be afraid to test multiple versions. A little experimenting can go a long way, especially if you are newer to sublimation printing. 

4. Transfer the Design 

Wrap the sublimation paper with your printed design around the mug. Make sure the image is positioned where you want it on the mug. This is where the thermal tape comes into play, as you will tape the paper to the sublimation mug to hold it in place. 

Now comes the heat press, which applies pressure and heat to transfer the ink from the paper to the mug. Follow the instructions regarding time and temperature, as these are some of the most important factors in the sublimation process. 

5. Final Details 

From here, remove the mug from the heat press and let it cool so the ink can set in fully. Check the finish’s quality to ensure there is no fading or smudges in the design. Check it from multiple angles in different lighting, and make sure the alignment is also to your preference.  

Tips For Making Sublimation Mugs 

If you are new to the world of sublimation mugs, here are some tips to remember when getting started: 

Start with a test. If this is your first time using a sublimation printer, there is a slight learning curve. They usually come with complete tutorials and samples to get started. We recommend practicing on those before jumping into more complex designs. 

Run through the full tutorial. There are several nuances to using a sublimation printing machine, so it’s best to read the full instructions to understand how it works. 

Get the right materials. This cannot be stressed enough. Finding the right sublimation supplies and using actual sublimation mugs will give you a much better and longer-lasting finish. 

Time and temperature are key. That is, when using the heat press. The standard when sublimating mugs is a temperature around 400 degrees for 3-5 minutes, but follow the manufacturer’s guidelines for best results. 

Where Can I Find the Best Sublimation Printer? 

AGC Education carries the Sublimation Station, an all-in-one printing machine that transfers bold and colorful designs to practically any item. 

It includes full design software, sample products, and complete implementation training to get started. For peace of mind, you also have access to AGC Education’s support team

Where Can I Get Sublimation Mugs & Supplies? 

AGC Education has a complete catalog of sublimation supplies, including a range of sublimation mugs and cups in different styles, finishes, and colors. The store also has everything you need to get started: sublimation paper, tape, ink, and everything else you can think of. 

How Poster Printers Can Enhance Stem Education

Have you ever considered how a poster printer for schools could transform your STEM curriculum into a more engaging, interactive, and visually appealing educational experience? Imagine walking into a classroom filled with colorful, eye-catching posters showcasing complex STEM concepts in a simple, understandable manner. This isn’t just a dream.

With the integration of a poster maker machine for schools, educators can bring STEM activities for elementary or K-12 students to life, creating a vibrant and stimulating learning environment that encourages exploration and curiosity. Let’s explore how poster printers can enhance STEM education and revolutionize traditional teaching methods.

The Power of Visual Learning

It’s no secret that visual aids are powerful tools for learning. According to studies, 65% of people are visual learners, meaning they understand concepts better when presented through images or videos. This statistic is especially significant in STEM subjects, which often involve complex and abstract concepts that can be challenging for students to grasp.

Visual learning leverages an individual’s senses to enhance their perception of the environment and presented material. This method can help students create a mental image or connection to the information, making it easier to understand and remember.

Visual learners remember things well by picturing them in their heads. They usually have good spatial sense and pay close attention to details. This is where a poster printer for schools becomes an invaluable asset.

Educators can incorporate poster printers into the classroom to cater to different learning styles and make complex concepts more accessible. Visual representations of STEM topics help students understand the material better and encourage creativity, critical thinking, and problem-solving skills.

The Role of Visual Aids in STEM Education

Visual aids enhance STEM education by breaking complex subjects into understandable visuals that ignite students’ curiosity and improve retention. Through posters, abstract principles and theoretical data become tangible, allowing learners to visualize mathematical functions, scientific processes, and engineering principles in a more digestible format.

This transformation of information from textual to visual aids in bridging the gap between theoretical knowledge and practical understanding. Posters, specially designed with engaging graphics and colors, grab students’ attention more effectively than traditional textbooks, leading to higher engagement and interest in the subject matter.

When students are actively engaged, they are more likely to participate in discussions, ask questions, and demonstrate a deeper understanding of the concepts being taught. Furthermore, visual aids like posters can serve as ongoing learning tools, accessible to students outside direct instruction times for review and reinforcement.

Therefore, integrating posters into STEM education caters to various learning styles and greatly improves students’ understanding of intricate subjects. This fosters a long-lasting curiosity in science, technology, engineering, and mathematics.

Advantages of Poster Printers for Schools

Exploring the advantages of poster printers for schools reveals a spectrum of benefits beyond just the visual. Here are a few key advantages that make a strong case for incorporating these tools into educational settings:

  • Enhanced Engagement: Students are more likely to be captivated and interested in lessons that incorporate colorful and dynamic visuals, making learning more enjoyable.
  • Support for Diverse Learning Styles: Poster printers allow educators to create materials that cater to visual, auditory, and kinesthetic learners, ensuring that all students have the opportunity to grasp complex STEM concepts.
  • Cost-Effective Resource: Investing in a poster maker machine for schools can be more economical in the long run, reducing the need for expensive textbooks and external resources.
  • Flexibility in Teaching: Educators can quickly produce customized posters for specific lessons or concepts, allowing for greater flexibility and adaptability in teaching methods.
  • Encouragement of Creativity: Teachers and students can explore their creative sides, designing posters that convey educational content and artistic expression. This can inspire students to pursue further artistic or design-related education or careers in the future.

Types of Educational Posters

Learning posters come in various forms, each serving a distinct purpose in enhancing the educational experience. Let’s delve into the four main categories of learning posters:

  • Illustrative Posters: These posters illustrate a concept or thing, providing visual representations that aid comprehension. For instance, an illustrative poster might depict the solar system to help students grasp celestial bodies’ relative sizes and positions.
  • Process Demonstrations: Posters that demonstrate a process break down complex procedures into clear, step-by-step visuals. Whether it’s photosynthesis, the water cycle, or the stages of mitosis, these posters guide students through intricate processes, facilitating better understanding and retention.
  • Comparative Posters: Differentiating between similar things can be challenging, but comparative posters make it easier. These posters highlight distinctions between related concepts, organisms, or phenomena, helping students identify key differences and similarities.
  • Emotion-Stimulating Posters: While educational posters aim to convey information, emotion-stimulating posters go further by capturing interest and evoking emotional responses. These posters utilize captivating visuals, intriguing facts, or inspiring messages to engage students emotionally.

Incorporating Poster Maker Machines in Classroom Activities

Integrating poster maker machines into classroom activities enhances the learning experience and promotes active student participation. These are some innovative ways educators can utilize these machines in their teaching:

  • Project-Based Learning: Create posters for group projects where students can visualize their research and findings on various STEM topics.
  • Classroom Decor: Design educational posters that students can use to decorate the classroom, making the space more engaging and informative.
  • Instructional Aids: Develop step-by-step guides or infographics for complex procedures or experiments, simplifying the learning process.
  • Student Presentations: Allow students to create their posters for presentations, helping them better articulate and visualize their ideas and solutions.
  • Visualizing Data: Teach students how to transform data into charts, graphs, and other visual formats, making abstract concepts more concrete and understandable.

Implementing Poster Projects in STEM Education

Educators increasingly use poster projects in STEM education to improve students’ understanding and retention of complex topics. To kickstart your first poster project in a STEM classroom, begin by choosing a topic that ties directly into your current curriculum, ensuring it complements the learning objectives.

Encourage students to brainstorm in small groups, allowing them to exchange ideas and decide on their project’s focus. This fosters collaboration and ensures a sense of ownership over the project. Guide them in outlining the research required, dividing tasks to cover different aspects of the topic, and gathering relevant data.

When designing the poster, introduce basic design principles such as color theory, typography, and visual hierarchy, empowering students to create an impactful and educational poster. During the printing phase, involve students in explaining how to use the poster maker machine, turning it into a learning opportunity on technology use in educational settings.

Finally, each group should be allowed to present their poster to the class, facilitating a peer-review session that encourages constructive feedback and communal learning. As a bonus, you can display these posters around the school, showcasing students’ hard work and inspiring others to explore STEM subjects.

Unleash Creativity and Ignite Learning with Poster Projects

Incorporating a poster printer for schools into the curriculum opens up possibilities for enhancing STEM activities for elementary or K12 students. Creating educational posters allows students to engage more deeply with complex subjects, making learning effective and enjoyable.
Elevate your classroom’s learning experience today by exploring AGC Education’s printable STEM activities and incorporating state-of-the-art poster printers into your teaching toolkit. Ideal for boosting creativity and teamwork and enhancing STEM comprehension, these resources are essential for educators aiming to make a big impact. Shop now!