Is Laser Engraving Hard to Learn?

Incorporating unique technologies can be a great way to capture students’ attention when finding new ways to engage them in the classroom. Laser engraving, while still relatively unknown compared to traditional methods of crafting and designing, is becoming increasingly popular daily.
But what’s stopping educators from taking advantage of this versatile technology? Is laser engraving hard to learn? By understanding what laser engraving is all about and the steps you need to follow to start the process, you can easily find a way to enhance your future lessons by incorporating it into your school activities.
In addition, you’ll gain a comprehensive understanding of what’s involved in setting up laser engravers in a classroom environment. You’ll also get some tips for managing different projects so everyone involved can reap maximum results, such as learning while having fun!

What is Laser Engraving?
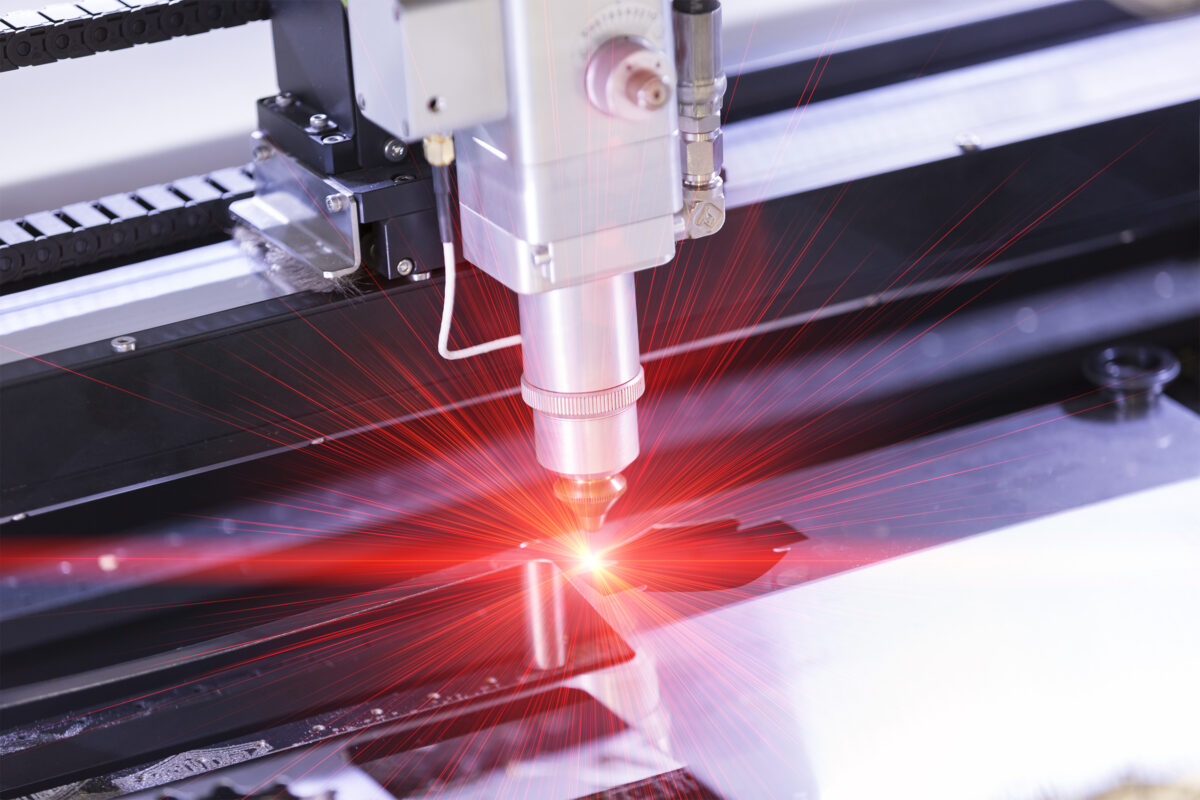
Laser engraving is a printing method used to engrave permanent and deep marks. The process involves vaporizing the materials into fumes using a focused light beam. The localized area is hit with massive energy levels to create heat to vaporize the material’s surface.
Many people also know laser engraving as deep etching or relief printing. Even though it’s relatively new, many began to prefer it over other printing methods because it’s permanent and durable. Therefore, it can resist various harsh environments and fading or weathering.
Another advantage of laser engraving is that it can be used to make intricate designs with ease. Some examples are logos, patterns, designs, and texts. You can print them on different kinds of materials as well.
Here are the materials you can use for laser engraving:
- Wood
- Metal
- Plastic
- Fabric
- Rubber
With this in mind, you might still wonder if is it hard to learn how to use a laser engraving machine. It’s simple to follow the step-by-step process while understanding how laser engraving works, which will be discussed below.
How Does Laser Engraving Work?
Laser engraving has the same process as sublimation regarding how the mark is made. Here, the material turns into a gas-vaporized state from the solid state without passing the liquid form. Generally, a solid turns into a liquid when the temperature reaches its melting point. Then from liquid to gas when the temperature reaches its boiling point.
With sublimation and laser engraving, the process is shortened through heating. And to engrave or leave a mark using laser engravers, a laser beam gives the energy needed to vaporize the material’s surface. And a laser engraving machine is equipped with these laser beam modules.
These laser modules can be engraved on different materials. And it works when the laser beam moves on the material’s surface. The beam raises the material’s temperature enough to reach its vaporization point. Thus, causing the material to convert into vapors while leaving a mark on the material.
Don’t worry about the fumes, which are collected through the machine’s extraction system. So this leaves you with a permanent and long-lasting result, which you can use for your school’s merchandise or various classroom projects.
The Step-by-Step Laser Engraving Process
There are some things you need to remember before you can start with your laser engraving project. And it’s best to teach your students at the same time so that they can get hands-on experience.
Here are the steps needed to start with laser engraving:
- Prepare: The first step is to prepare the material by cleaning it up. Ensure no oils, dirt, or debris are on the surface so the laser beam can engrave on the material properly.
- Design: Choose your design and upload it to the laser engraving software. You can use CAD or computer-aided design to create it.
- Calibrate: The calibration involves choosing the right settings for the material. You can start by adjusting the laser beam speed, focus, and power.
- Engrave: The engraving process begins once you upload your design and calibrate the machine. It’s when the laser beam emitted from the module is directed to the material. After that, there’s a shallow indentation, which the laser beam has left to create your desired design.
As you can see, operating the machine isn’t hard. It’s simple, and you can teach it to your students for a more engaging class. Thus, you can start with your projects by following these steps and understanding how laser engraving works.
Some Projects You Can Undertake in a Classroom Setting
So is laser engraving hard to learn? It will depend on several factors, such as the machine you plan on using and the materials you plan on using. But once you understand the basics and have a little bit of practice, laser engraving is easy to learn.
Once you’re ready to incorporate it into your classroom, you can begin by introducing some fun projects. Some examples are as follows:
Puzzles
Laser engraving is the perfect method for creating puzzles. You can have your students create a puzzle design or get their favorite piece of artwork, which they can engrave on a piece of plywood. After that, just cut the pieces using laser cutters.
Cutting Boards
For your arts and crafts class, you can introduce personalized cutting boards. Students must tape off the non-engraved area to prevent over-burn marks or ash dust. It’s best to choose lighter or unstreaked wood to develop a dark and fully-visible mark that’s visually appealing.
Customized Playing Cards
Your students can also create wonderful playing cards, which you can use for your games. Using cardstock or plastic, your students can design their playing cards with laser engraving.
Jewelry
Custom jewelry is an exciting project that students will love, especially little girls. You can help your students create custom wooden pendants, acrylic earrings, or metal bracelets. These can also be sold during school events or given to teachers as remembrance during Teacher’s Day.
School Decorations
You can invite your students to help create magnificent decorations during graduations, proms, or ceremonies. It’s a great way to provide a customized experience that’s unique and truly memorable. Plus, you can use laser engraving to create mementos for your students that signify their time in school.
Bookmarks
Bookmarks can be made in different materials, but choosing a sturdy material, such as a thin piece of plywood or bamboo, is best. Your students can use these practical objects to keep track of their progress in their reading activities.
These are just some of the projects you can introduce to your students. With laser engraving, there’s no limit to creativity. Plus, you can use these in different school curriculums, which means there are no limitations in terms of activities and projects. And with all these projects, students can enjoy the laser engraving process while they learn.
Apply Laser Engraving in You Classroom for More Fun
As an educator, you want your students to learn in different ways to prevent them from getting bored. And one way is to keep them engaged using different types of technologies, such as a laser engraver.
If you’re looking for a laser engraver that is easy to use, AGC Education has the Laser Lab, which will help you tackle your various classroom activities. Contact us if you have more questions about our laser engraving supplies; we’re happy to help you.


